
August 11, 2026
HowtoInstallanOutdoorSocketSafely
Having an outdoor socket makes countless tasks easier, from connecting power tools and cleaning equipment to using decorative lighting or maintenance appliances.
However, exposure to moisture, dust and temperature variations requires different precautions from those applied to an indoor installation.
In this article, ASLO explains all the steps you should follow to ensure that outdoor sockets are installed safely.
Before Installing an Outdoor Socket
The first step is to determine where the socket will be used and which equipment will be connected. This assessment makes it possible to define the location, the number of power points and the necessary protections.
Important note: Any work on an electrical installation must be validated by a qualified professional.
Whenever possible, the socket should be:
- Protected from direct rain;
- Positioned away from taps, irrigation systems and washing areas;
- Installed above areas where water may accumulate;
- Located in an accessible place without being exposed to frequent impacts;
- Close to the area of use, avoiding the constant need for extension leads.
How to Install an Outdoor Socket Safely
1. Choose the Right Socket
A conventional socket does not provide the protection required for environments exposed to moisture and dust. It is essential to select a model with an IP rating suited to the conditions at the installation site.
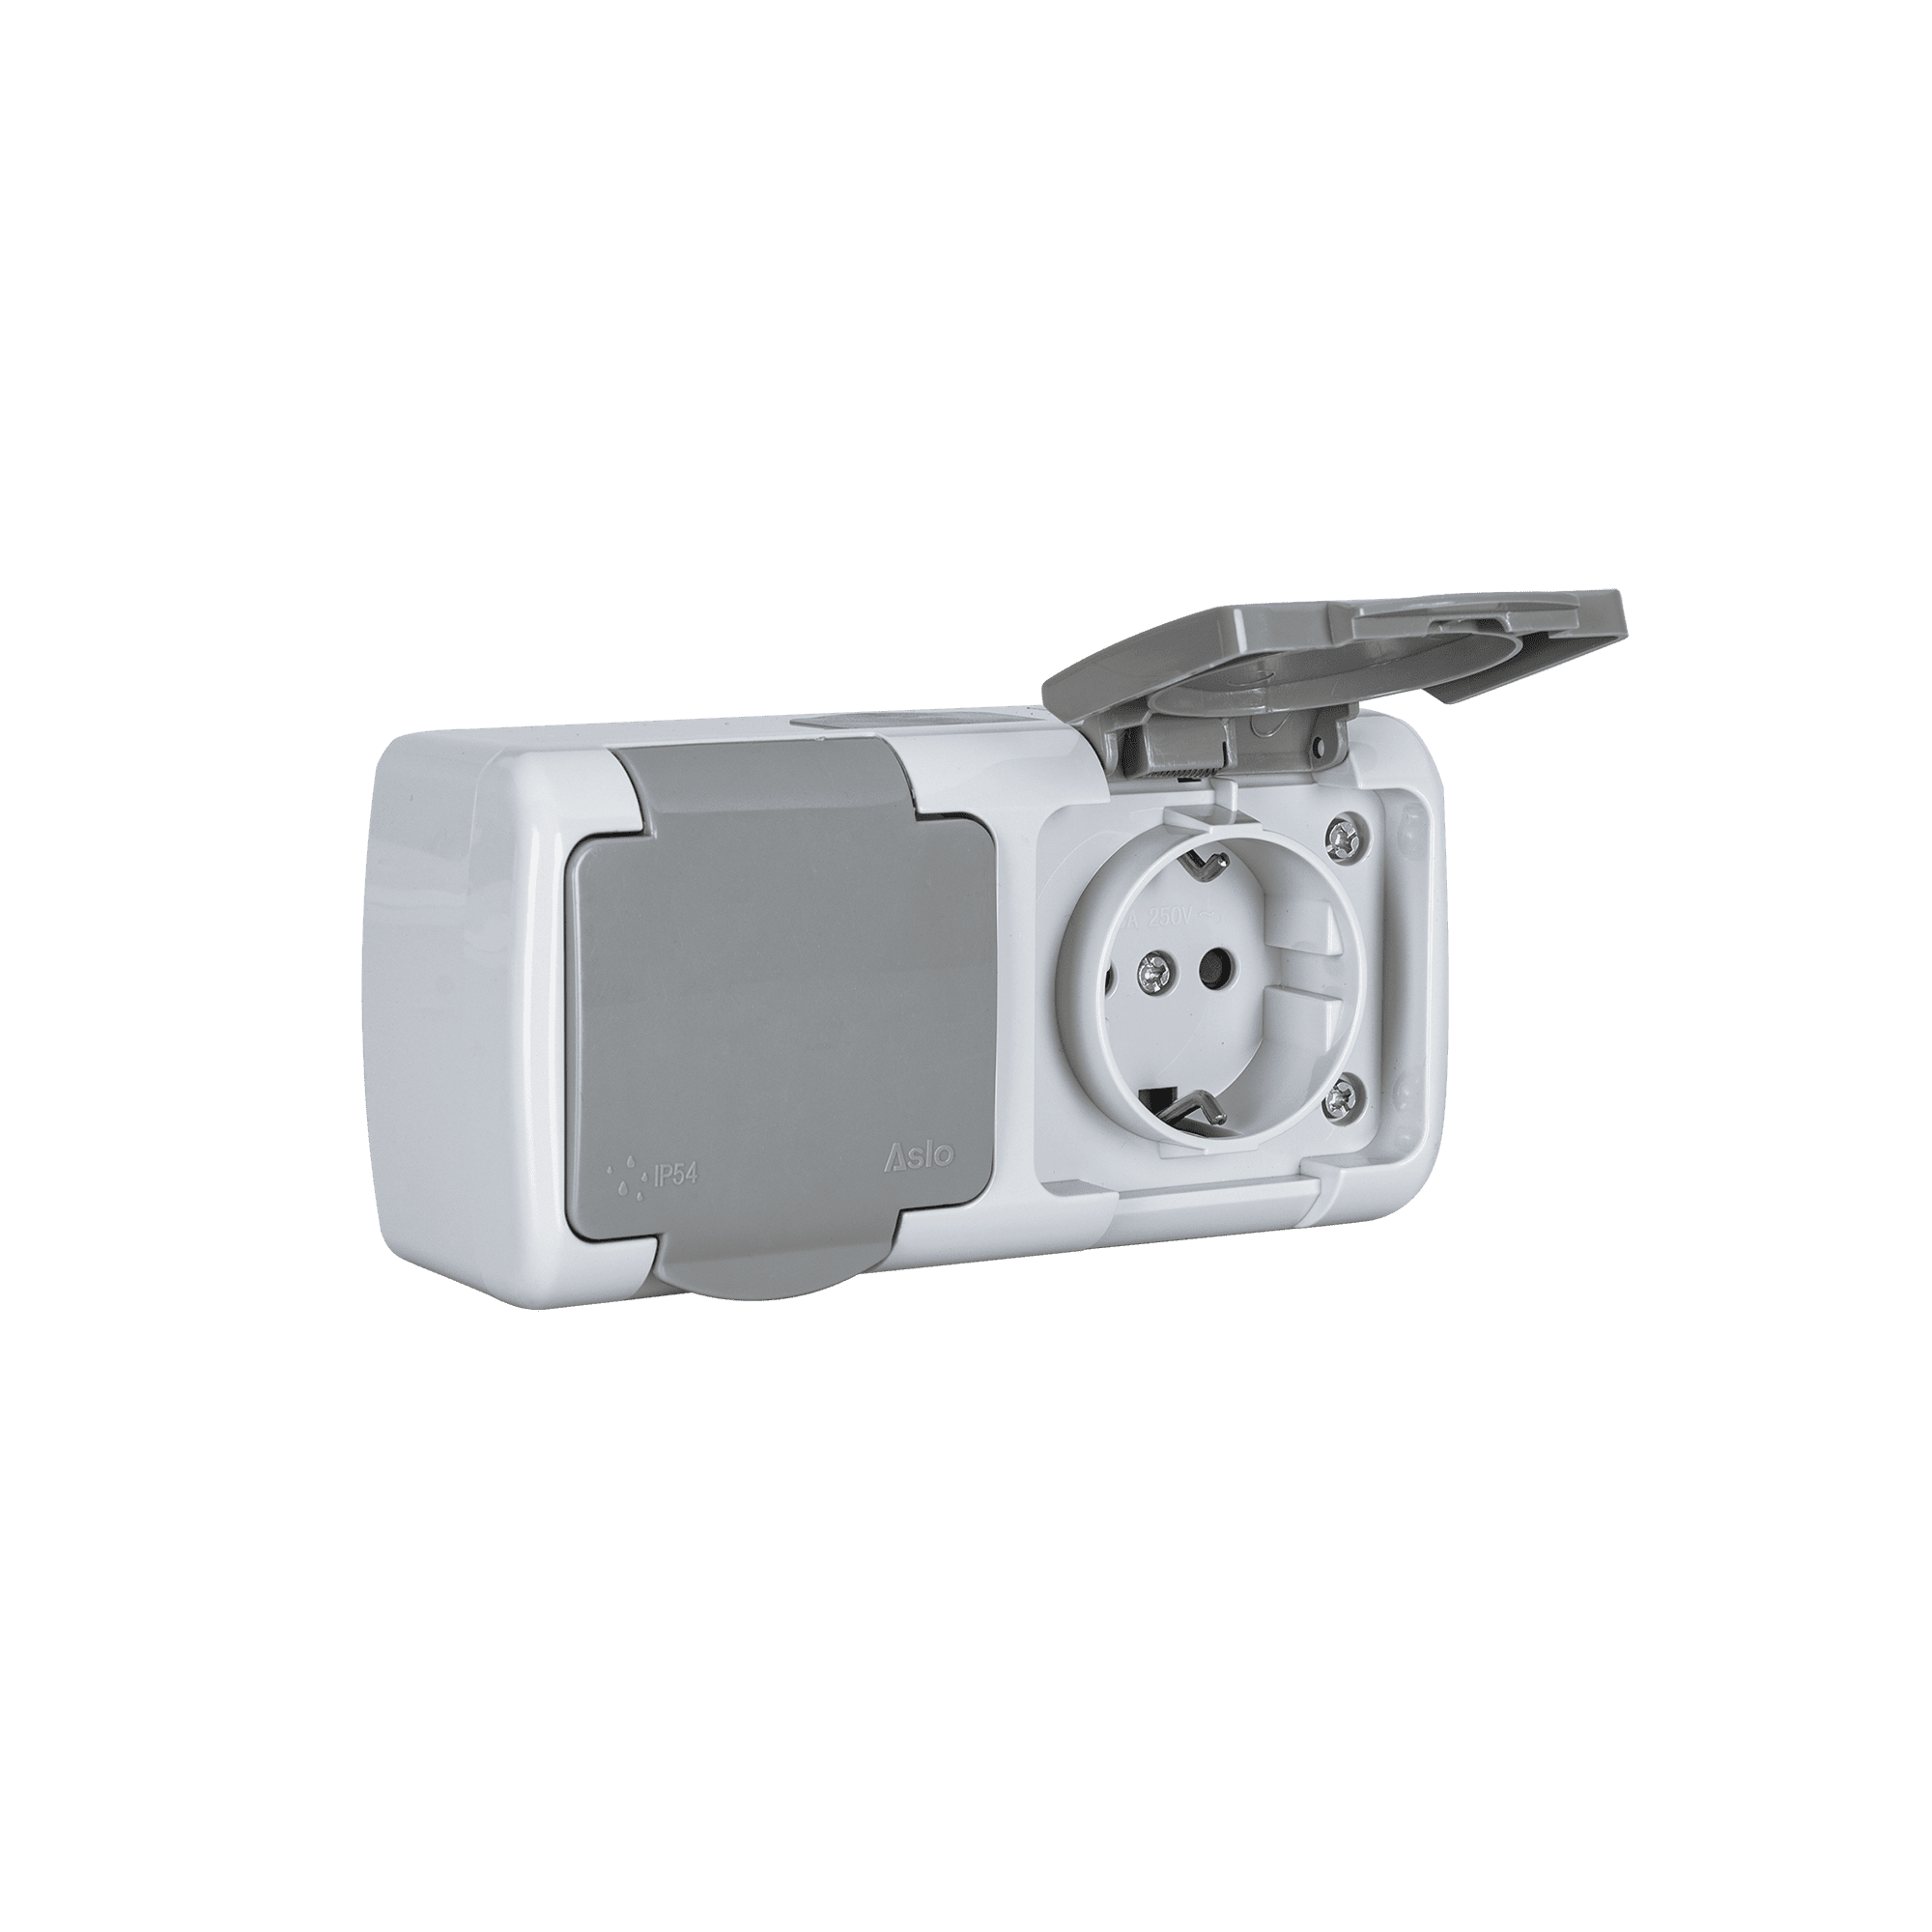
The Double Schuko Socket from ASLO's ACQUAPROTECT range features IP54 protection, polycarbonate construction, UV protection and impact resistance, making it ideal for garages, porches, workshops or sheltered outdoor areas.
2. Check the Electrical Circuit
Before installation, the professional must confirm that the existing circuit can support the equipment to be used and that it has the appropriate protections.
3. Switch Off the Power and Confirm the Absence of Voltage
The power supply must be switched off at the electrical distribution board before any work is carried out. Switching off a single switch is not enough: the circuit must be correctly identified and the absence of voltage confirmed using suitable measuring equipment.
4. Install the Box and Prepare the Cable Routing
In outdoor installations, the socket is normally mounted in a watertight surface-mounted box with cable glands, which houses the electrical connections and protects them against the ingress of water, dust and other external agents.
The cables must be routed through conduits or protection systems suitable for outdoor use. During installation, it is important not to deform the box, as this could compromise the closure and the protection rating of the assembly.
5. Make the Connection and Close the Box
The conductors must be connected according to the equipment markings, including live, neutral and earth. The earth connection must never be omitted, as it plays an essential role in protection against indirect electrical contact.
After the connection has been made, it is important to confirm that the seals, covers and entry points are correctly closed, preserving the socket’s protection level.
6. Test the Installation
After restoring the power supply, the professional must check that the socket is working and test the relevant protections. They should also confirm that there is no looseness, abnormal heating or evidence of moisture ingress.
An outdoor socket makes the space more functional, but it requires careful installation and suitable components.
The Double Schuko Socket from ASLO's ACQUAPROTECT range helps ensure practical, durable and safe use, making it possible to create robust, protected power points designed for regular use.